
DERELIKT Reactor Puzzle: Rod States and Positions
Understand the DERELIKT reactor’s heat states, reset conditions and repeated rod labels, with board positions to help distinguish similarly named choices.
Quick answer
Reset the grid and use the image-documented 15-input route below. Rod names repeat, so distinguish top from bottom and upper from lower positions before each selection.
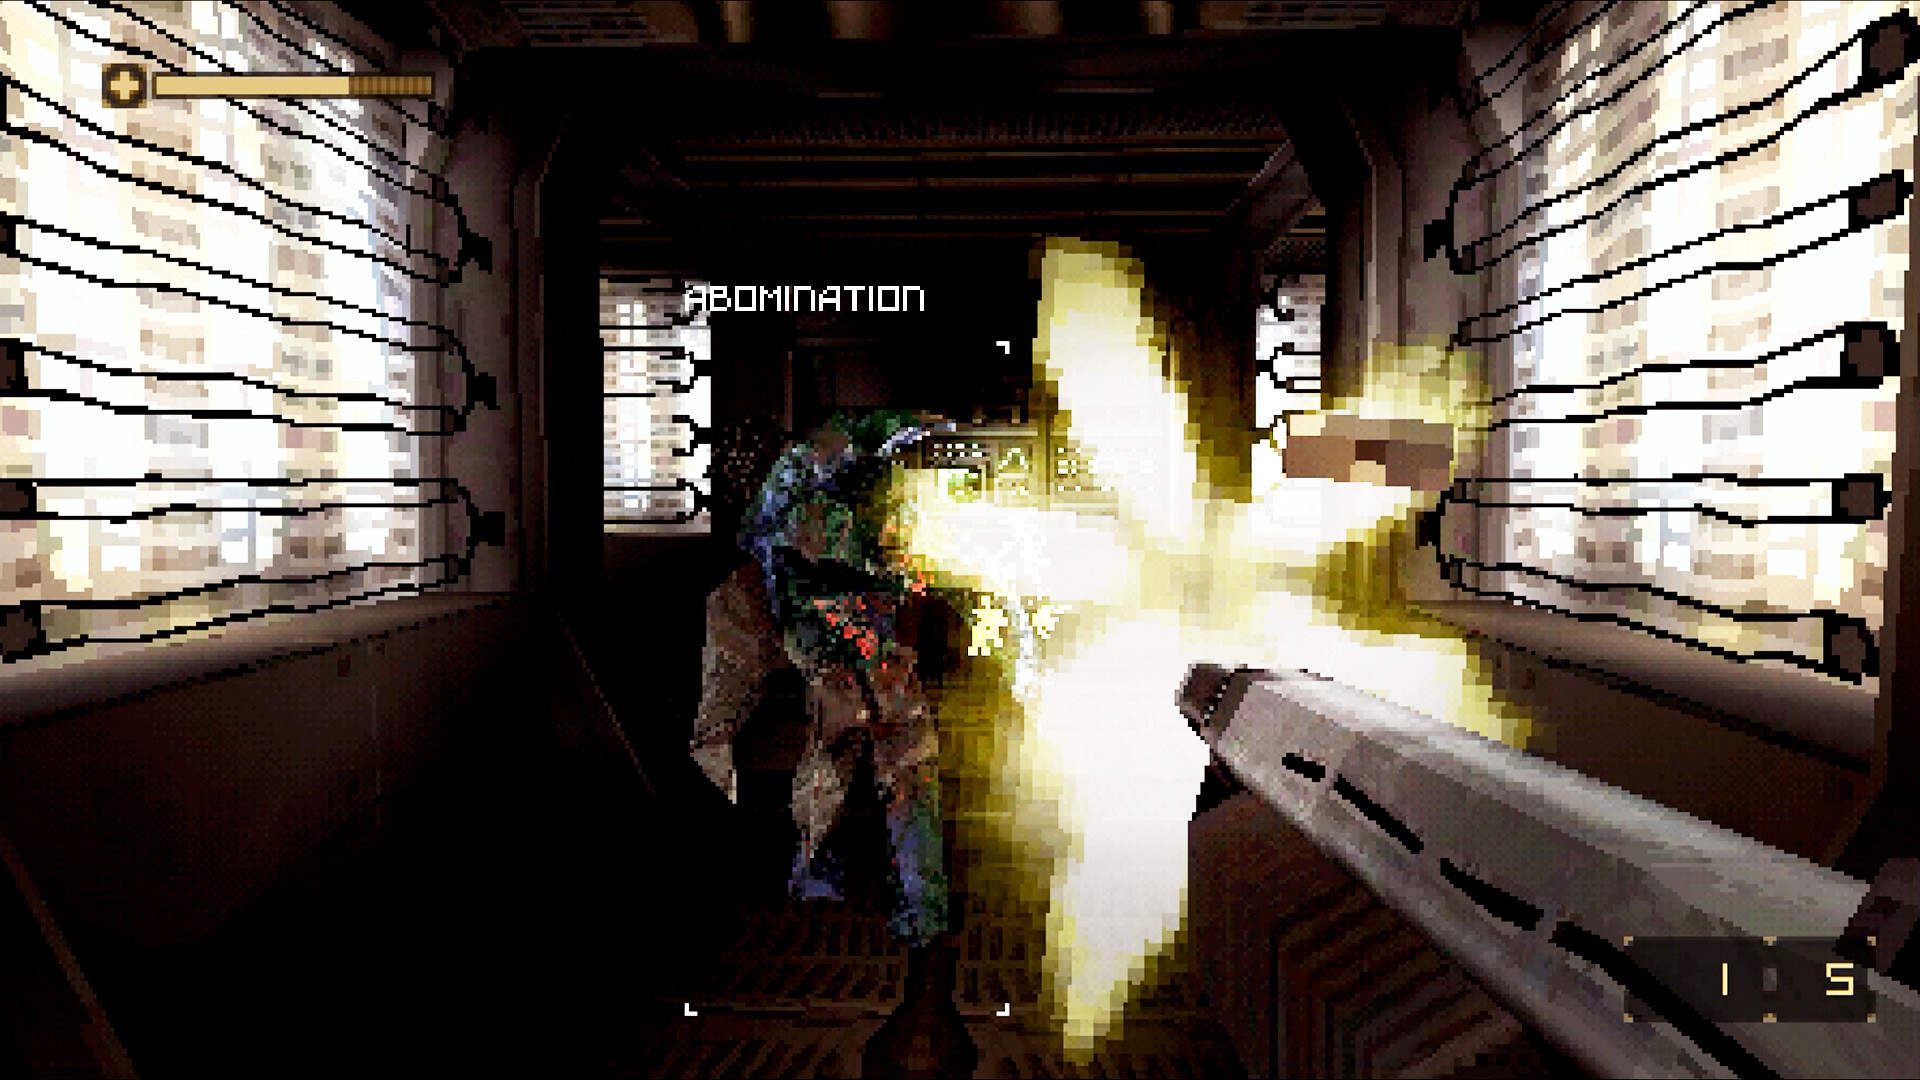
Understand the reset board
The goal is to build enough heat to trigger a reactor meltdown. The terminal explains the cycle COLD → WARM → HOT → COLD. Selecting a rod cycles that rod and its immediately surrounding hexagons. You can select COLD or WARM rods; HOT rods cannot be chosen.
On the PC board shown in the source, R — Reset All restores the starting pattern. Reset before following a route, because earlier moves change what the next input will do.
Read positions as well as labels
The central vertical column has five rods: top 10C1, upper 10C2, centre 10C3, lower 10C2, and bottom 10C1. The left-middle 10A2 and right-middle 10A2 sit at the outer sides of the board.
The repeated labels are why “press 10C1” is not enough. Use both the name and its position.
Image-documented sequence
The annotated Steam solution shows these groups in order. Complete one group before moving to the next; do not reset between groups.
| Group | Select in order |
|---|---|
| 1 | Bottom 10C1 → top 10C1 → left-middle 10A2 → right-middle 10A2 |
| 2 | Bottom 10C1 → top 10C1 → left-middle 10A2 → right-middle 10A2 |
| 3 | Upper 10C2 → lower 10C2 → bottom 10C1 → top 10C1 |
| 4 | Centre 10C3 → top 10C1 → bottom 10C1 |
There are 15 selections. Group 2 intentionally repeats group 1. The final three selections are not another copy of group 3.
If the next rod is already HOT
Check that you started from a reset and selected the correct copy of each repeated label. Do not continue a copied sequence from a half-completed attempt. Compare your board with the annotated source images if the state differs.
The separate macmac guide gives a different 17-step route. This page keeps the image-documented route intact instead of mixing steps from two solutions. It is based on inspected source images and does not claim a hands-on playthrough.
Check the intermediate patterns
After group 1, the outer ring is WARM and the inner seven rods are HOT. After group 2, the outer ring is HOT, the six inner neighbours are COLD and the centre remains HOT. After group 3, the centre is WARM and the two inner 10C2 rods are HOT. These checkpoints let you spot a wrong duplicate label before continuing.
Sources and verification
- DERELIKT · steamcommunity.com · Checked 2026-11-16
- DERELIKT · steamcommunity.com · Checked 2026-11-16
- DERELIKT · steamcommunity.com · Checked 2026-11-16
- DERELIKT · www.youtube.com · Checked 2026-11-17
- DERELIKT · www.youtube.com · Checked 2026-11-17
- DERELIKT · ggguides.com · Checked 2026-11-16
- DERELIKT · derelikts.wiki · Checked 2026-11-16
- DERELIKT · www.youtube.com · Checked 2026-11-17
Continue reading
All guides →Home
Find focused DERELIKT guides for the APC battery, bar suitcase, dial safe, kitchen lock, terminal hacking and equipment-gated return routes.
Read guide
Opening route
Follow the DERELIKT opening route through Operations, the armory and maintenance vents to Shriver, then return for gear and answer the guard quiz.
Read guide
APC battery
Solve the DERELIKT APC battery puzzle: find Hartman, retrieve the replacement battery and connect matching terminals with equal resistance on both paths.
Read guide
Bar suitcase
Open the DERELIKT bar suitcase with code 3852, find the face-up card clue and distinguish this four-digit lock from the separate Texas-flag dial safe.
Read guide
Safe and launcher
Find the DERELIKT grenade launcher through McNamara’s dial safe. Use left 70, right 20, left 5, and follow the painted hints on three crew-quarter lockers.
Read guide
Kitchen lock
Understand the DERELIKT kitchen audio lock using the door-panel dots and hanging pans. Keep left-to-right positions separate from hanging height and pitch.
Read guide
Hacking chips
Learn what DERELIKT hacking chips do, when to deploy Worm and Nuke from your inventory, and why the software helps with passwords during a terminal hack.
Read guide
Park cassette
Find the Spacefunk 3000 cassette in DERELIKT using the poster and room landmarks, then replace the worn tape at the Crew Quarters cassette player.
Read guide
Missing glyphs
Check DERELIKT glyph leads in Exo Laboratories and Central Security, including equipment-gated return routes and a player-confirmed Security forcefield.
Read guide
Forcefields and suit
Disable DERELIKT yellow forcefields through their fuse boxes, learn when later equipment is needed, and return to Central Security for the hazmat suit.
Read guide